 Loïc Tardivel-Lacombe - Jul 18, 2022
Host your website for free with a contact form
Or how to create an SPA with Nuxt 3 and deploy it using Netlify's serverless features
It is often necessary to create a static website, but with a contact form. This can be the case for a showcase site, an online CV, or even just for a site under construction page... A static website can be hosted almost anywhere, but adding a simple contact form introduces an additional constraint: the form must be validated, the entered data must be collected, and it may even be necessary to send an email.
Fortunately, it is now very simple to include this functionality without having to develop it and without paying the cost of hosting a backend. Here, I will show you how to create a project on Netlify, from creation to automated deployment.
For this example, the project will be developed with Nuxt 3, a framework based on Vue.js 3. But don't worry, you can skip this section if your static site is developed differently.
Note: The free nature of this service depends on your usage. Beyond 100 messages (excluding spam) per month, you will be automatically charged, which is why we use it as a contact form.
Project Creation and CI/CD
To start, create your project on your preferred Git manager (Netlify currently accepts GitHub, GitLab, and Bitbucket). Here, for example, on GitLab.
Once this is done, and after creating an account on Netlify, go to the "Sites" section, then "Add new site" and "Import an existing project".
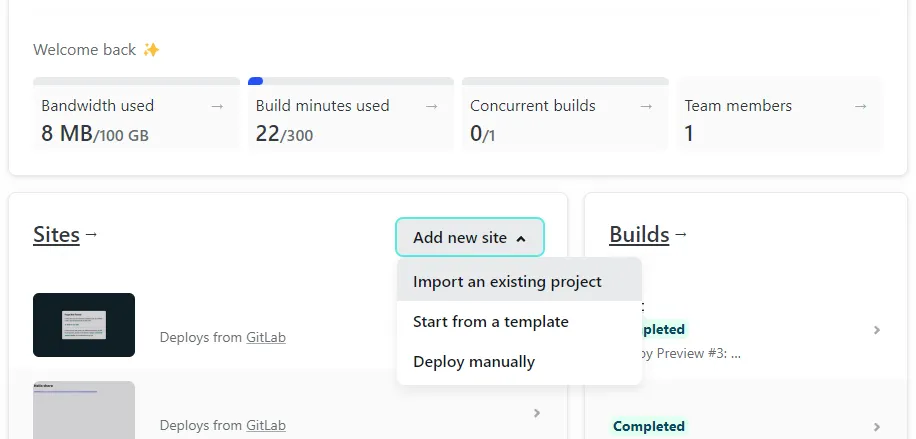
Next, choose your Git provider and your deployment branch. Since we haven't made any configurations in GitLab, our branch will be main. It is always possible to change it along the way.
You can specify the root folder, the build command, the publication folder, and other things according to your needs. Let's leave everything as default.
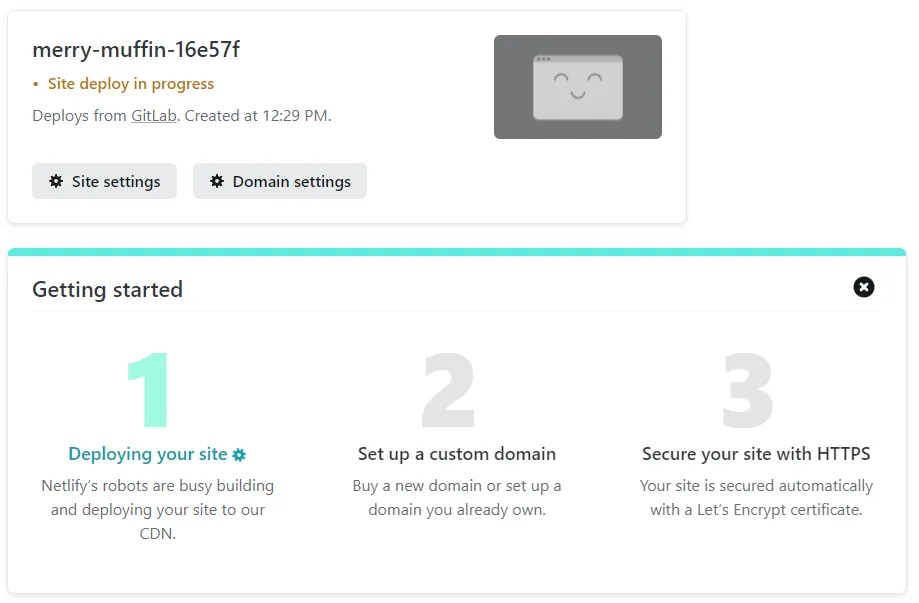
… And there you go, your site is ready to be launched! With each commit on the selected branch, the new version will be deployed. You didn't have to do anything, your CI is already in place.
You are now ready to develop your website!
Static generation with Nuxt 3
If you are not using Nuxt, you can skip to the next chapter. Otherwise, here is the method to create a static site... with dynamic data.
Project Creation
Let's create our project with Nuxt 3 (see Quick Start) : npx nuxi init demo-app
You should have a tree structure similar to this:
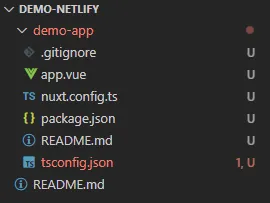
Personally, I then move the contents of the demo-app folder to the directory above.
Note: Nuxt 3 is still under development (release candidate 5), and I conducted my tests on rc 3. I encountered some issues with older versions that prevented me from generating the project correctly, but it worked starting from version 3.0.0-rc.3-27550969.a4a3cff. If you encounter errors during the build, you can modify the version as follows in the package.json file:
"devDependencies": {
  "nuxt": "npm:nuxt3@3.0.0-rc.3-27550969.a4a3cff"
}
We can now install the dependencies with npm install, then start the project with npm run dev. It should be accessible after a few moments at http://localhost:3000.
Static generation
To generate a static site with Nuxt, you need to run the generate command. However, you must first configure the project to allow static generation by modifying the nuxt.config.ts file.
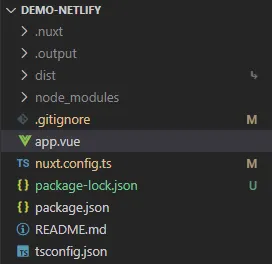
Now, execute the command npm run generate. You should see the .output and dist folders appear (which you can add to .gitignore).
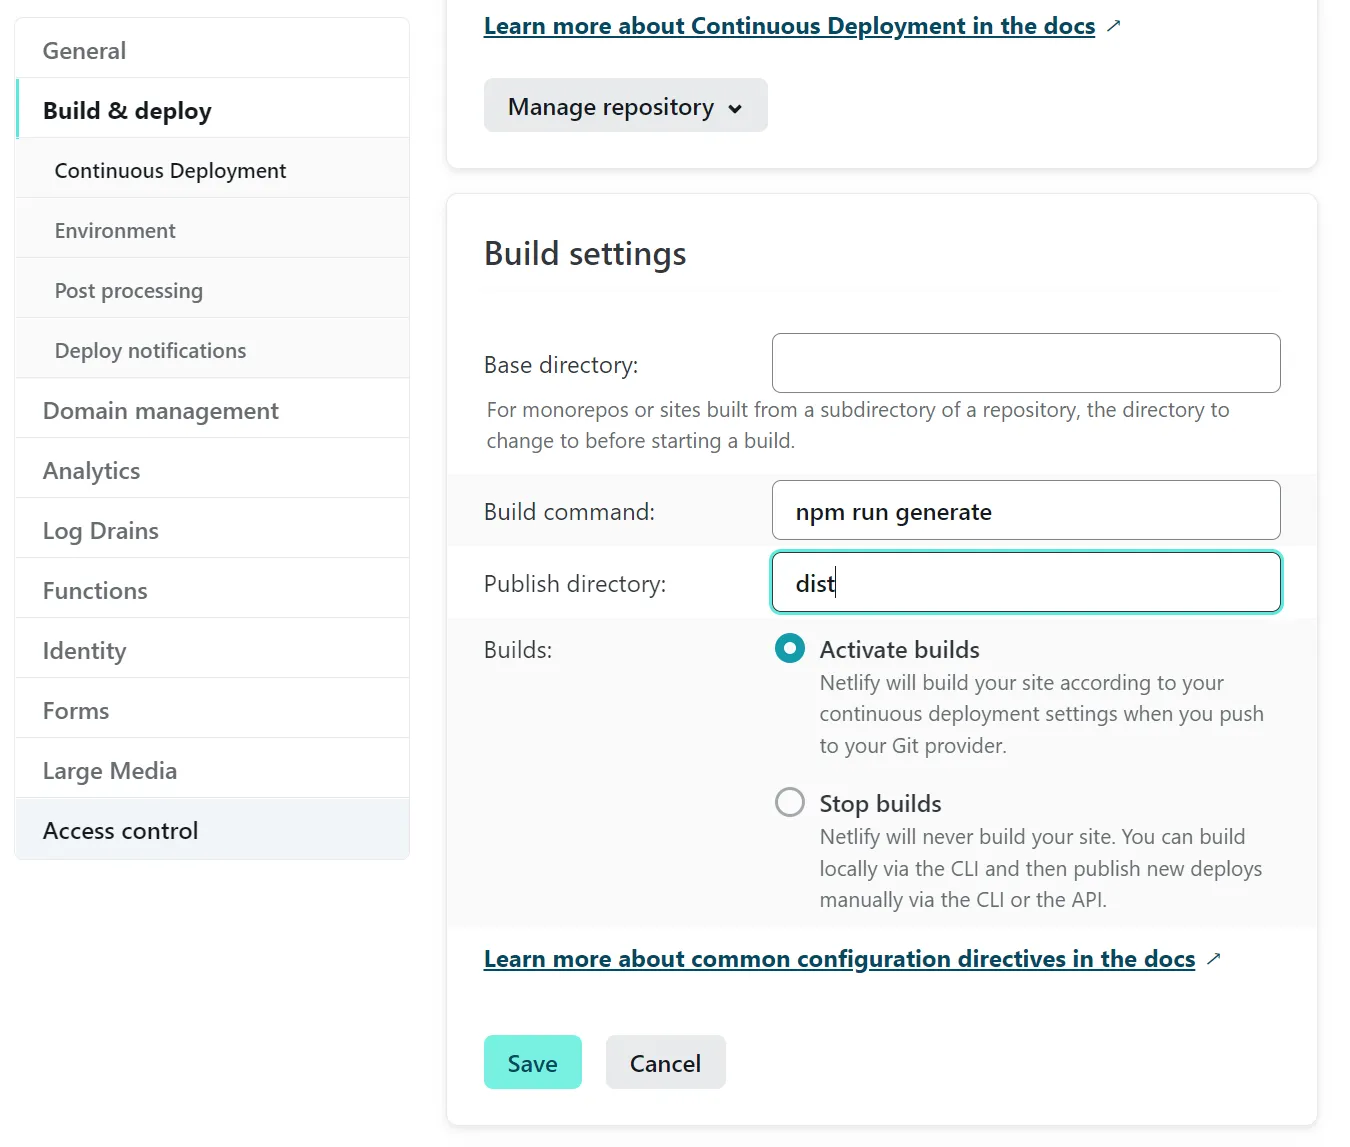
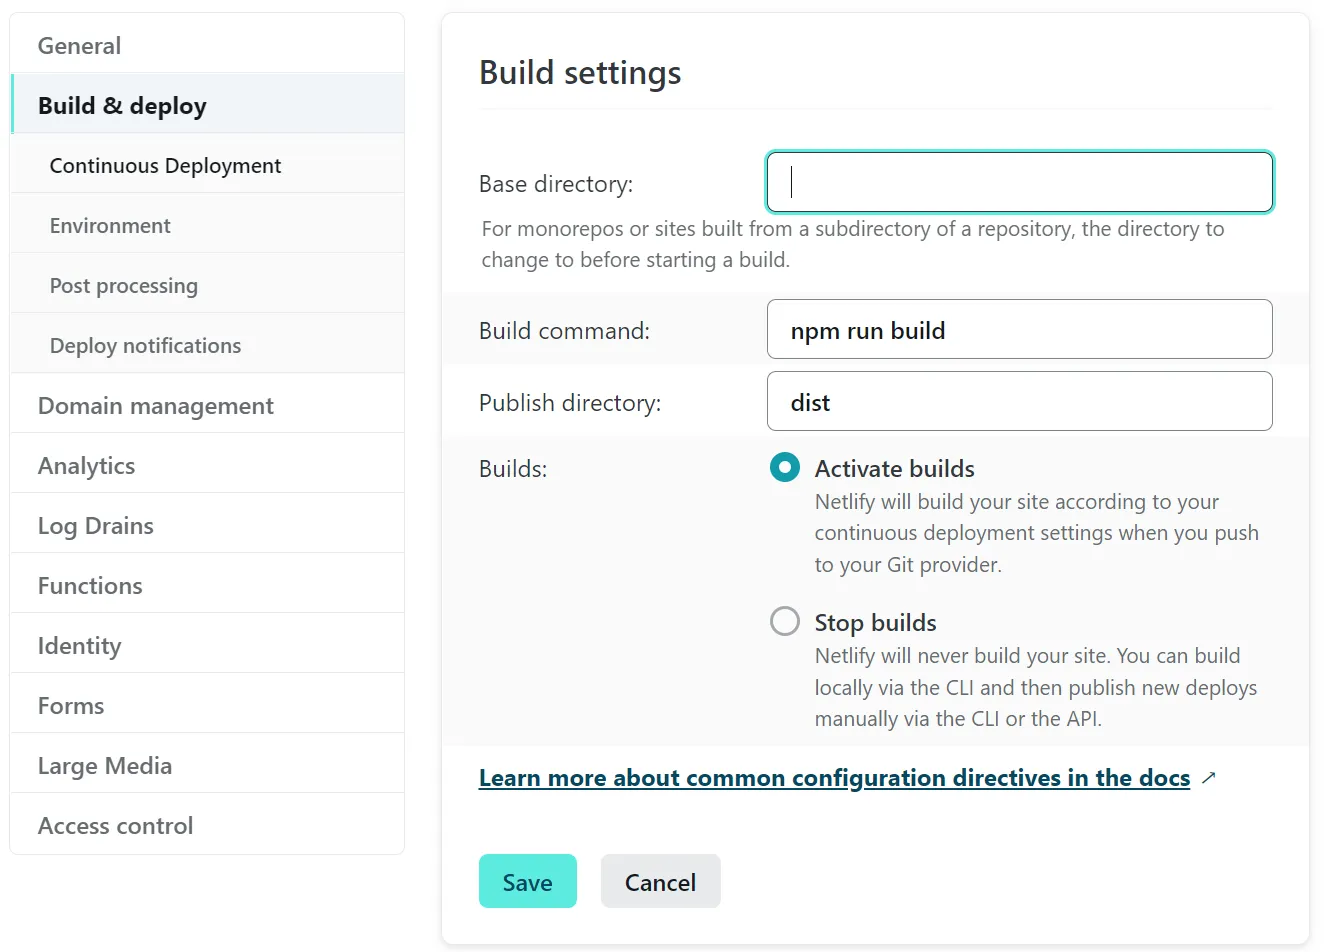
On Netlify, go to your project's build settings and specify the build command (npm run generate) and the output folder (dist).
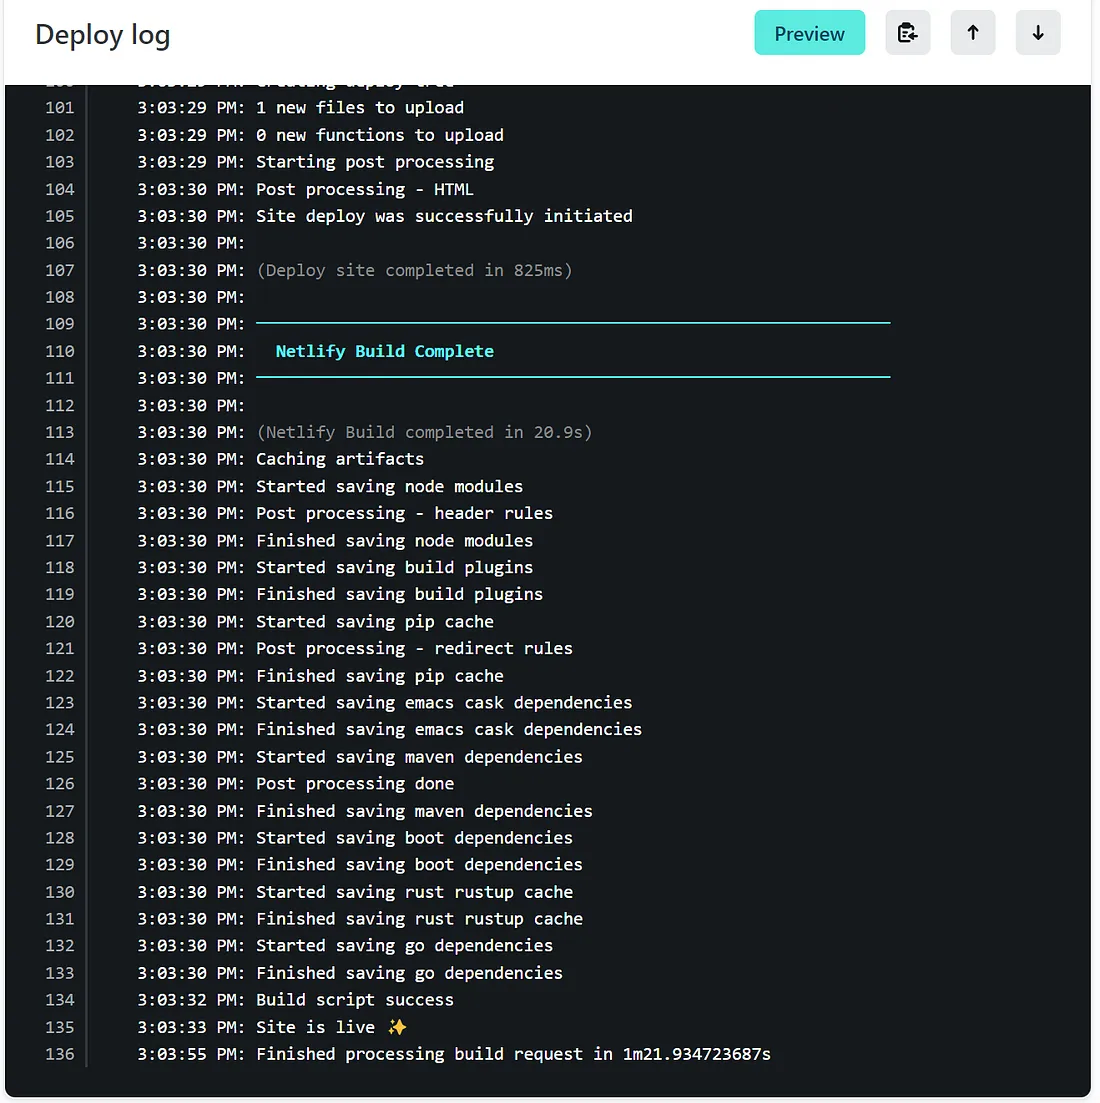
You can commit / push, and watch Netlify deploy your brand-new site!
Netlify Form
Now that your site is created, it's time to add some features... Starting with a form.
Netlify allows you to create a fully functional and secure form for free. The complete documentation can be found on this page, but here are the key steps to remember:
- Create a classic HTML form
- Add some specific tags for Netlify to the form
- Secure the form
- Set up email sending in Netlify
Form creation
Let's start by creating a simple form by replacing the content of the app.vue file. For this example, we will keep only an "email" input, but you can create a complete form with as many fields as you want.
Next, let's add the netlify tag, which tells Netlify that we want it to process this form automatically.
<form name="myForm" method="post" netlify >In principle, this is all that's needed for the form to work on Netlify. However, if like me you are using Nuxt, you will encounter a problem: the form is not detected by Netlify because the content of our page is generated via JavaScript. Just generate our project to realize that the dist/index.html file does not contain our form
Form with Nuxt
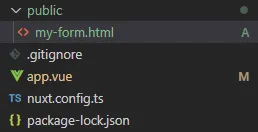
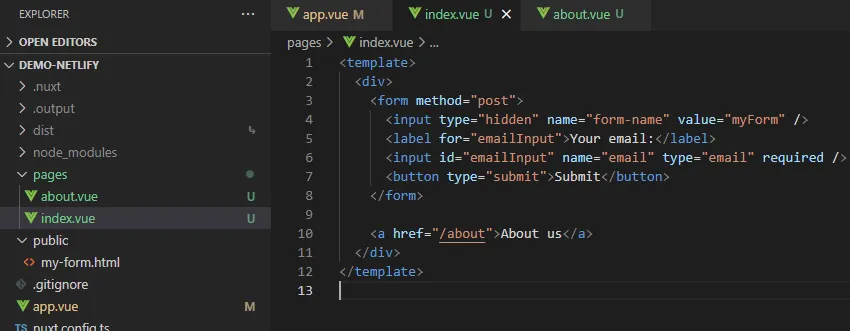
To address this problem, a simple method is to create a raw HTML file describing our form. This solution described here, is not very elegant because the form will need to be updated in both files simultaneously. However, it remains the simplest to implement.
In the publicfolder, a hidden form is created with the fields used.
<form name="myForm" netlify hidden>
    <input name="email" type="email" />
</form>
To enable Netlify to receive the data, the form in our app.vue file must now include a hidden form-name input field with the name of our form as its value. There is no longer a need for name or netlify on the <form> tag, as Netlify will parse the previously created .html file.

And that's it! The next time you commit the code, the form will be online and ready to use.
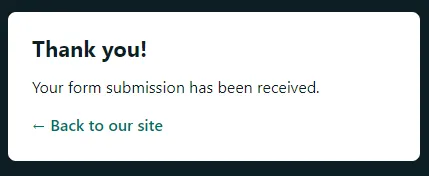
After validating the form
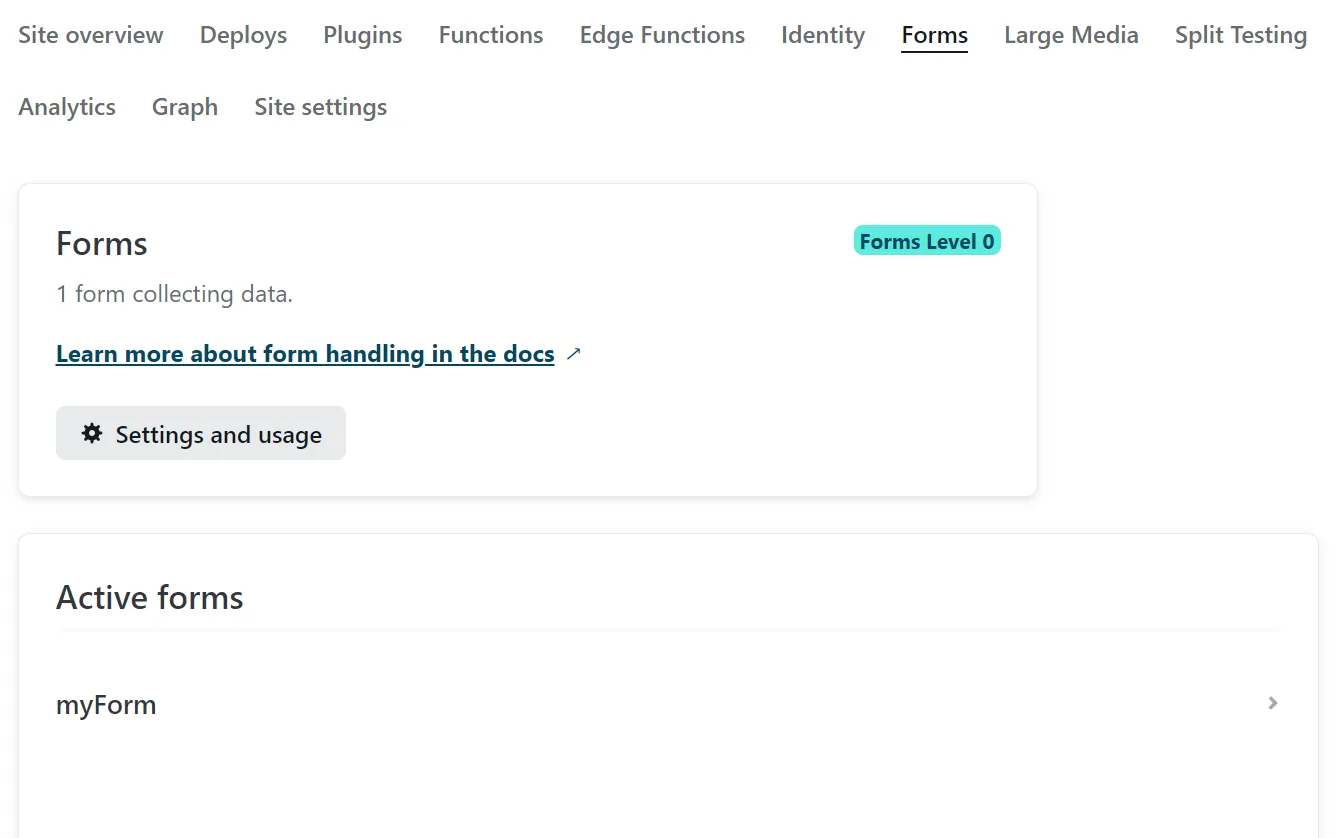
Netlify interface to view data received from forms
Form security
It is highly recommended to secure the form against spam. Netlify already uses the Akismet service for this, but allows for additional security, which is always welcome for this important issue. Two solutions are proposed:
- Add a Google reCaptcha
- Add a honeypot field to trap bots
The honeypot field imposes a few additional constraints but has the advantage of not requiring the use of cookies and being less intrusive for users. It is also somewhat less effective at filtering bots but can be sufficient when used in combination with Akismet. However, keep in mind that it is necessary to follow certain rules to maintain an effective honeypot.
Set up email sending
Now that our form is online, we can configure some settings in Netlify so that an email is sent automatically.

Make the website dynamic with Nuxt
Our static page works, but it is also possible to have a multi-page site with dynamic data.
SPA and Routing Nuxt
It is relatively common to have multiple pages on a website… However, since we do not have a backend to handle the routes, it is necessary to inform Netlify that we want to behave like a Single Page Application with client-side routing.
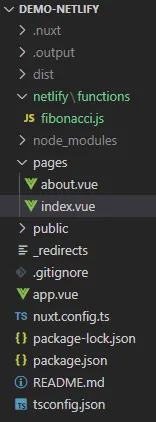
First step: modify our example to add a second page, "About us". Simply create a pages folder and create two files, index.vue, which corresponds to the home page (and will now contain our form), and about.vue, which will be our new page. Creating a .vue file in a pages folder activates Nuxt routing at the next build.
New Structure for the Project
The app.vue file will also change so that the Nuxt application displays the content of each page via the <NuxtPage /> tag. In development mode (npm run dev), remember to restart your server.
Second step: If we deploy the site as is, the URL http://localhost:3000/about will be accessible locally, but the deployed equivalent on Netlify will not be. We need to specify to Netlify that all URLs should lead to the root via a _redirects file.
# The following redirect is intended for use with most SPAs that handle routing internally.
/*   /index.html   200
This redirects all paths to index.html. Additionally, this file needs to be copied to the build destination directory. For example, this can be done using the copyfile package with a modification to the package.json.
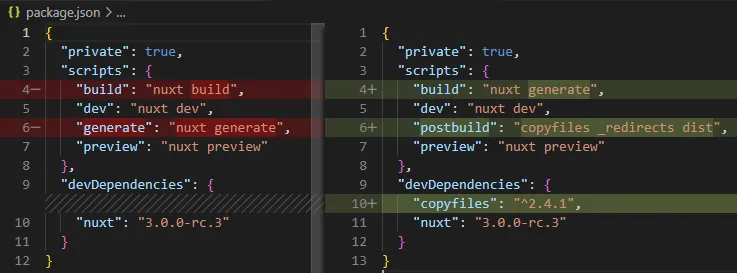
I used the postbuild script here, which is automatically called at the end of an npm run build command. Therefore, I removed the generate command to use the build command instead, and I had to update the build command in Netlify before committing.
Our SPA now works when deployed on Netlify. You can go to the /contact page and refresh without any issues.
API calls
Our website is static, but it is entirely possible to make it dynamic by using external APIs.
For this to work, they need to accept CORS requests. If you are developing your own APIs, I recommend configuring them to exclusively accept calls from your frontend URL for security reasons.
Dynamic Forms
We previously saw how to create a fixed form in Vue.js and how to get it recognized by Netlify. We had to manually define each field to be sent.
However, there is a technique for creating dynamic forms in Vue. This requires coding the form submission to Netlify yourself. This topic would require an article on its own, so I recommend taking a look at the previous link.
Important: as previously mentioned, do not forget the hidden field form-name required for Netlify to understand which form it is.
axios.post(
  "/",
  this.encode({
    "form-name": "myForm",
    ...this.form
  }),
  axiosConfig
);
Bonus: Serverless Functions
We have created a site that calls external APIs. It is also possible to create serverless functions in Netlify! These functions are pieces of code (JavaScript, TypeScript, or Go) that will be called on the fly without having to maintain your own server.
Netlify limits the duration of functions to 10 seconds. It is possible to perform longer processes (up to 15 minutes) with asynchronous functions (background functions). There is also a limit on the number of requests and processing time.
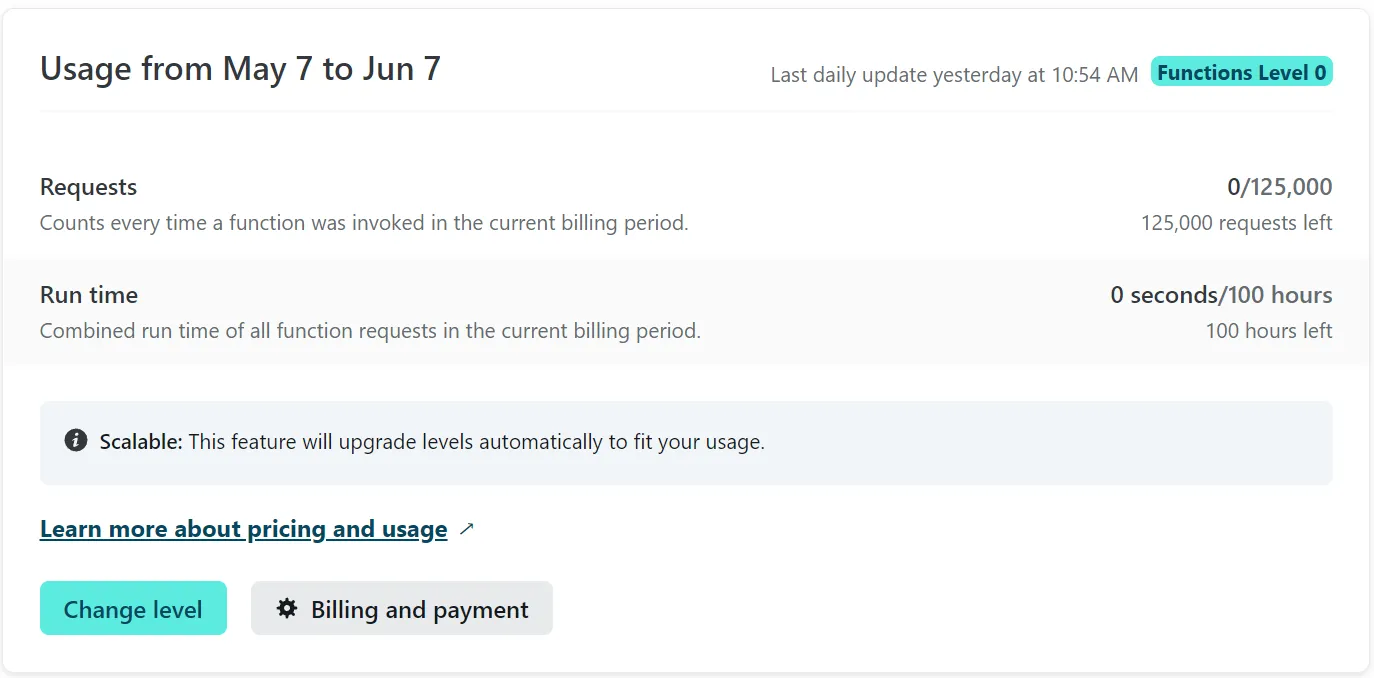
You have the option to call your function a certain number of times for free before switching to the next subscription level
All functions must correspond to files placed in the netlify/functions folder. A hello function can be saved in several ways:
netlify/functions/hello.jsnetlify/functions/hello/hello.jsnetlify/functions/hello/index.js
The result will in any case be an API exposed on /.netlify/functions/hello. To create an asynchronous function, simply add the suffix -background.
Let's create, for example, a synchronous function that will return the Nth result of the Fibonacci sequence.
Your .js file must export a handler method, which takes event and context parameters containing the data from the incoming request (see here for details).
Our function returns a 200 OK status code and the result in the body. The body must be a valid string, so we have converted our return object into JSON, which will need to be decoded on the client side. For asynchronous functions, nothing is returned.
Let's now add a new Vue page that will call our API.
To simplify my example as much as possible, I haven't really secured the JSON.parse: locally, the page will remain blank (error in the console).
In our next deployment, our API will be called client-side. You've created your own serverless function!
You can find more examples of serverless functions on this page.
To go further...
Of course, there are still many interesting things to explore with Netlify! I invite you to delve into the documentation and the settings of your project.
Examples:
- You can configure the form success page, but remember to update the
actionin both forms if you are using Nuxt. - File upload is also possible, with a fairly low limit.
- In the "Build & deploy" settings of your site, there is a section called "Asset optimization". There is also a "Deploy Previews" feature to test your development branches.
Good Luck & Have Fun!